Supabase provides a convenient authentication service for our apps. This is pretty beneficial. Authentication and authorization are a very complex problem space, and you probably should not roll your own authentication system. This post shares my learning of the general information needed to set this up. It doesn’t go super detailed, just the bare minimum you need to understand how everything is connected together.
Before going further, let’s clarify what it means with “authentication” and “authorization” with simpler analogy:
- Authentication: controls whether someone can enter your house.
- Authorization: controls whether someone can do certain things in your house, once they are inside. Someone can be allowed to enter your house, but not allowed to use the master bedroom, for example.
For simplicity sake, we will call both of these “auth service” in this post.
1. Authentication
A common way to have authentication is to let users log in with username and password. Additionally, social login is usually available. Which is, allowing people to register and login using another account from a different service (e.g: Google account). At the date of this publication, this is the list that Supabase supports:
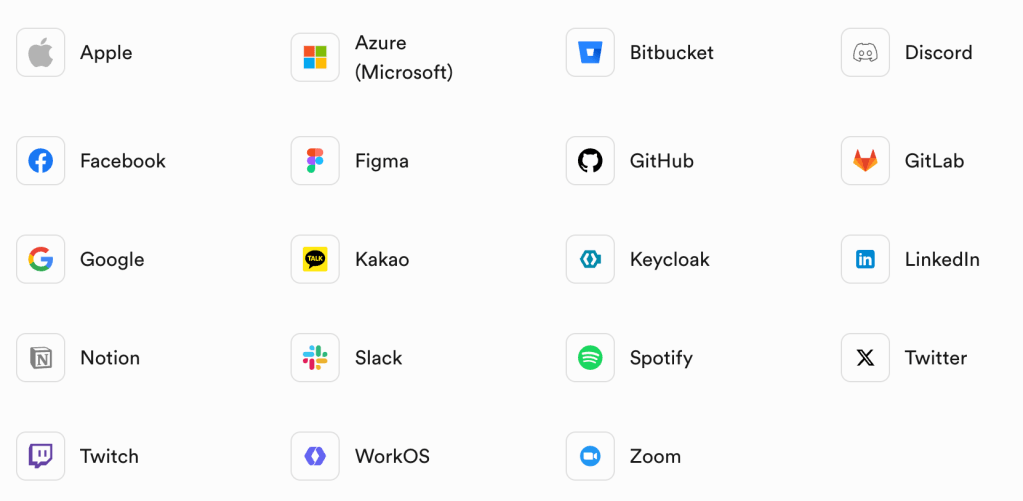
Supabase provides built-in mechanism to allow people to register and login using these techniques (as well as with phone, not discussed for now). The auth service integrates with Supabase’s provided database. You get a user table automatically created, and Supabase updates it automatically as well when someone registers, confirms, logs in, and so on.
Note on social login
Keep in mind that each of the social login options has its own extra setup steps involved. Depending on your userbase, some login options will be more preferred than the other.
2. Authorization
As Supabase’s database is PostgreSQL, it comes with something called Row Level Security. Essentially, it’s a way to limit database access where table contents (rows) are only visible to users if the rows contain that user’s identification.
To continue with the house analogy, this is like allowing people to see and read books in the house library, but only if the books has their name on it. Other people’s books are hidden from them, thus preventing a user from causing damage to other people’s items/data.
The Row Level Security setting has to be manually setup for each table, inside Supabase’s dashboard.
3. NextJS technical concept and implementation
Supabase has a pretty detailed guide to setting up auth with NextJS. I’ve implemented it and can confirm that the guide works. However, there are concepts and gotchas that might not be instantly obvious from the guide, and here I’ll go through them.
First concept is about “Supabase client”. Given the existing client/server terminology in NextJS, and the fact that there are separate client for NextJS client/server, this might be confusing initially, To avoid confusion, for the client/server terminology in NextJS, I will use frontend/backend instead.
So as mentioned earlier, there are two possible places to use the Supabase client: in NextJS’s backend or frontend. There is no wrong or right on which place to choose, it depends on the need. In any case, you want to create a couple of simple utility functions, one for backend and one for frontend usage. It’s shown in the guide in Step 3, “Write utility functions to create Supabase clients”.
For the most part, the client is needed to process registration, authentication, as well as checking whether a user is currently authenticated or not.
There’s some interesting use cases for the utility functions above:
- For each route in NextJS, you want to create a new Supabase client.
- The server utility function is essentially doing a fetch call to Supabase, and creating a new client is needed to get the latest cookie containing the auth tokens.
- Why use cookie? By default, Supabase generates access token and refresh token after a successful authentication. These are saved in local storage. The problem with this is that the backend can’t access local storage. For the backend to be able to talk to Supabase, a workaround is to save these tokens in secured cookie, which it can access. This is what the
utils/supabase/middleware.tsfile does in step 4 of the guide: it’s a clever hack to update the cookies so the backend can access it.
- Why use cookie? By default, Supabase generates access token and refresh token after a successful authentication. These are saved in local storage. The problem with this is that the backend can’t access local storage. For the backend to be able to talk to Supabase, a workaround is to save these tokens in secured cookie, which it can access. This is what the
- When using the client on the frontend, creating it each time is fine because it’s already created as a singleton.
Logging in is as simple as getting user data and passing it to Supabase:
const data = {
    email: formData.get('email') as string,
    password: formData.get('password') as string,
  }
  const { error } = await supabase.auth.signInWithPassword(data)
If there is no error, the Supabase client will also setup the tokens properly, so there’s nothing extra to do. We can then decide what to do next: show error, or redirect to home page, and so on.
Registration is also similar:
  const data = {
    email: formData.get('email') as string,
    password: formData.get('password') as string,
  }
  const { error } = await supabase.auth.signUp(data)
Registration is interesting as there are two steps involved here. Supabase will send a confirmation email to the user’s inbox, which has to be clicked before registration is complete. The confirmation email will have a link they have to click to confirm. This link has to be a route in your app that you have to manually setup. So, for this to work:
- We need to create a route in the app to handle the confirmation click. This is the
app/auth/confirm/route.tsxexample in step 7 of the guide. - We need to modify the email template inside Supabase’s dashboard to be a specific URL pattern that will work with the confirmation route above.
If you’re following the Supabase guide, note that it’s only barebones and does not show things like error or success messages, or any styling for the login form. I’d recommend adding them or add some debug code to see if your testing works (or not).
Finally, consider where to put the login session checking. A way to check is to put it in the middleware. Figure out which route should be accessible only behind authentication. Then, each time the route is accessed, do a check in the middleware and either let users access that route or redirect to login page.
4. Conclusion
This is pretty much the basic information needed to setup auth with Supabase in NextJS. For more advanced topics, we can start exploring things like:
- Registration form validation (the Supabase example doesn’t do it)
- Rate limiter
- Unit testing

Leave a comment